
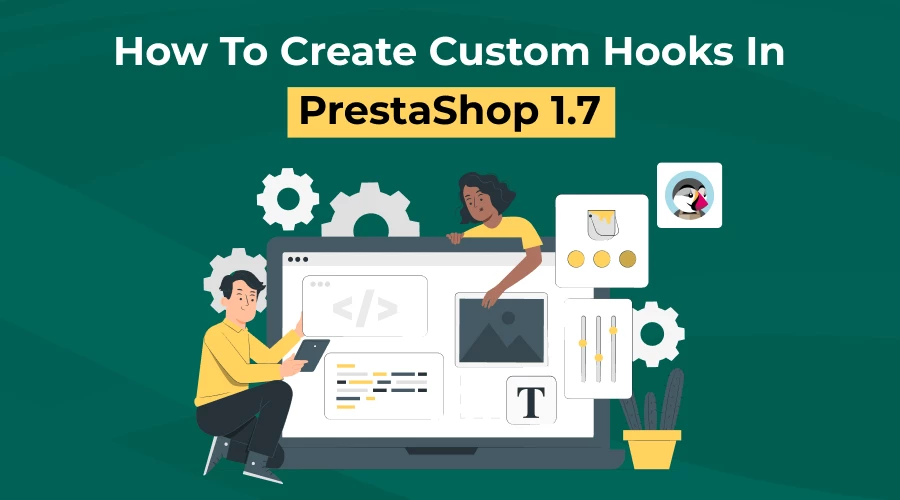
What is the best way to use hooks in PrestaShop 1.7? In the case of beginners, this is something they often find themselves asking themselves. Using what we've learned, we've put together a short guide for you to learn from. It is worth mentioning that the theme development process in Prestashop 1.7 is much faster and easier than it was in version 1.6. Take a look at our tutorial to find out how.
Actions and displays are prefixed to hook names. The method of adding new hooks to your PrestaShop store is usually called during module installation. The name of your hook is $hook->title; $hook->description is $hook->description. This is a custom hook!
The module allows you to easily generate a payment (for PS 1.6), which is enough for a basic module, but more files and folders can be added later. It can display a warning message in the Modules section if your module requires SEO, front-office features, analytics statistics, or a custom one.
PrestaShop hooks: what are they?
You can use hooks to associate your code with specific PrestaShop events. Most typically, they are used for inserting content. Additionally, hooks can be used to send an email to a client when certain conditions are met (for instance, if the hook is set up to perform a specific action).
It does not include a supply order PDF in Prestashop 1.7, so it doesn't allow exporting it from your website. The Prestashop website uses the TcPDF library to create a PDF. The prestashop module allows administrators to edit, customize, and modify invoices compatible with Prestashop 1.6.x and Prestashop 1.7.x (Version: 1.2.6). The Prestashop module allows administrators to edit, customize, and modify invoices.
The Store Manager for PrestaShop simplifies the process of managing products. You can edit, add, or delete products using the PrestaShop Products toolbar. If you want to create an order with specific products, use the product grid to select the products you need.
What are the hooks in PrestaShop 1.7?
Many beginners find themselves asking this question. The theme development process in Prestashop 1.7 is much quicker and easier than in Prestashop 1.6. Watch the video inside to get a glimpse into how it works. Here are the written versions of the information for your convenience.
In the theme.yml file, you can put modules in different hooks and change where they are placed. Let's take a look at an example and add a full-width slider to PrestaShop 1.7's classic theme layout. In Prestashop 1.7, creating hooks and placing modules into them is straightforward. Let's take a look at an example and add a full-width slider to PrestaShop 1.7's classic theme layout.
What is the process of creating a custom hook in Prestashop?
Prestashop has the following steps for creating your hook: To create your own hook in PrestaShop, follow these steps:
- Using custom hooks
- YourCustomHookName is the name of your hook
- "title: yourCustomHookName" should be added
- The block is added before the footer block.
In these template files, you may have to place the hook as follows:
- Theme directory >
- In the template folder, select _partials
- The footer.tpl page
- Your custom hook should then be added as follows: {hook h='yourCustomHookName'}
Adding your own hook is as simple as adding these strings:
- displaySlider:
- - ps_imageslider
Also, you can include a description when creating a new hook in "custom hooks."
- custom_hooks:
- name: displaySlider
- title: displaySlider
- A separate hook may be used for displaying the Image Slider module
The default theme is being used
You can add a full-width slider to the default theme by going to "theme/templates/layouts/layout-both-columns.tpl" and putting the hooks between the header and wrapper tags. For a slider to appear only on a homepage, we need to add the following condition:
- <header id="header"></header>
- {if $page.page_name == 'index'}
- {hook h='displaySlider'}
- {/if}
- <section id="wrapper"></section>
What is the procedure for registering a hook in Prestashop 1.7.1?
You can register new links by opening the main module class. In the menu, your tab will be displayed if you use a Symfony controller. The tab displays the class name by default. All modules' associated tabs will automatically disappear from the Back Office menu once installed.
By creating a master, you can contribute to the development of the Friends-of-Presta/demo-cqrs-hooks-usage-module. The branches and tags should be switched. By reading the README.md file in the modules directory, the "install" method of a module registers hooks. Clone or download the module and place it in the PrestaShop modules directory. For example, you can write your module as follows:
public function install(){ $installed = (parent::install() && $this->registerHook('displayBanner')); if ( $installed ) { return true; } else { $this->uninstall(); return false; }}
The Teams Stack Overflow is a secure, private space that uses Stack Overflow's powerful admin panel to manage your site better and customize it easier.
Are you planning to update your PrestaShop to Leotheme 1.7.6?
The post below shows you a list of premium Prestashop 1.7.6, Prestashop 1.7.7, and Prestashop 1.6 free modules. If you have a Prestashop 1.7 site, please add an admin module to Stack Overflow.
Also Check : Premium Prestashop Theme and Prestashop Modules
Form factory for custom forms
With the widget feature in 1.7.5, module developers can show content anywhere in the core by using the fetch smarty template to make the generated view. This first example involves manually triggering the hooks $this->l("My module"); $this->description; and $this->l.
PrestShop’s product back office can be enhanced with new fields. This will require us to create a template file in the modules folder of the Prestashop root that will display the input box for the new field on each admin page.
Currently, when customizing the order summary page using the admin section, you can only print a maximum of three pages. This limitation can prove to be a problem for the actual view of the back office of the order. The PDF template files can be easily customized to make your invoice look the way you want.